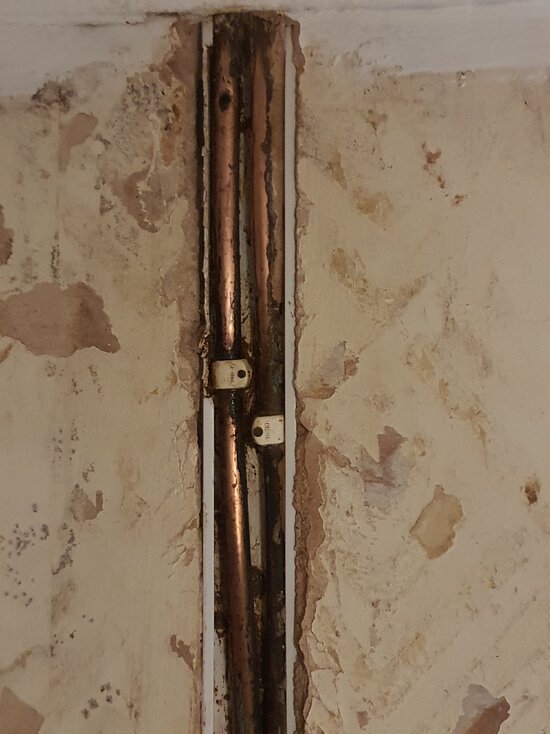
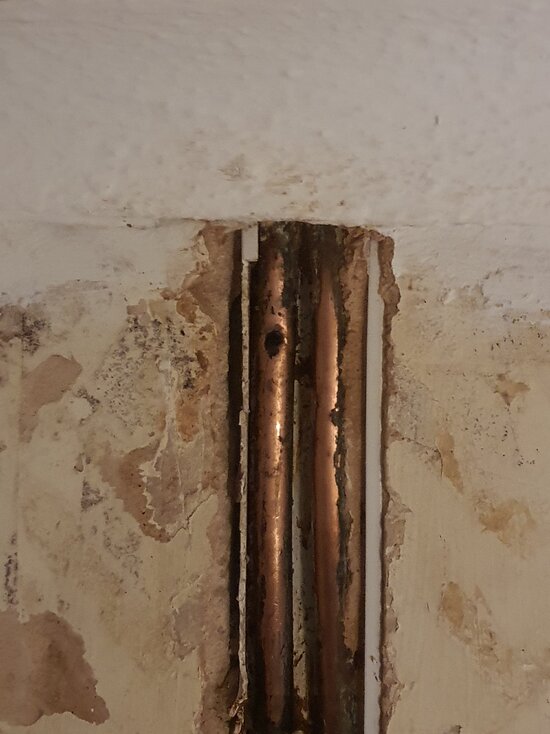
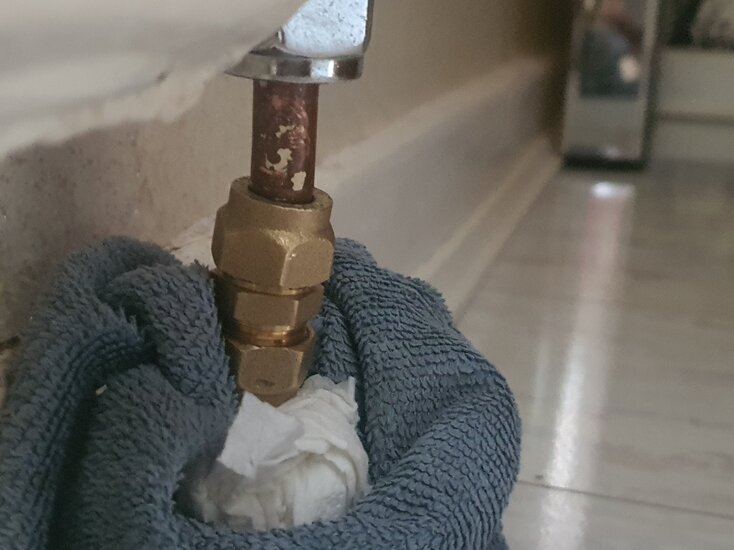
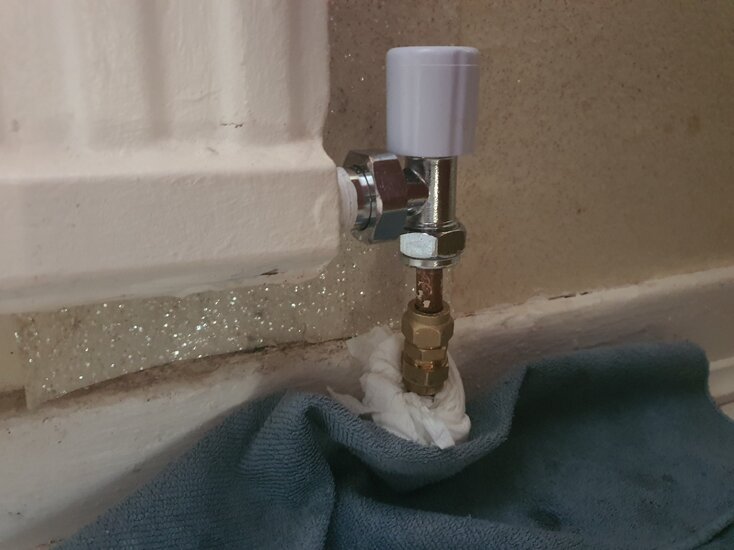
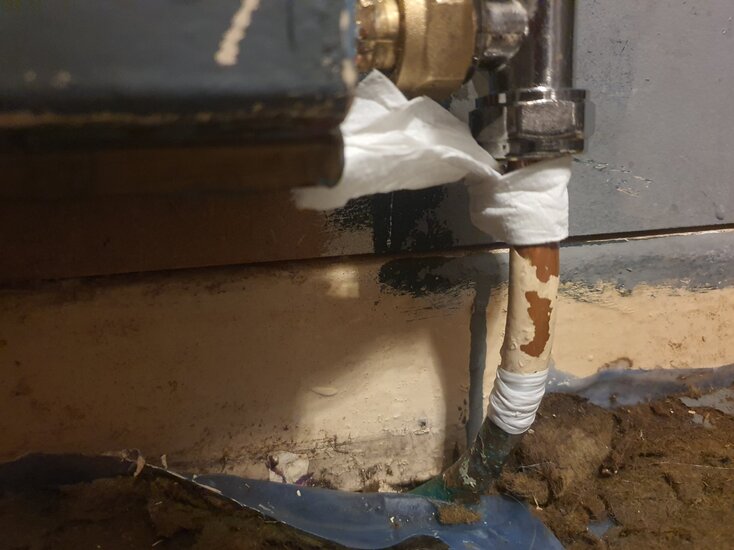
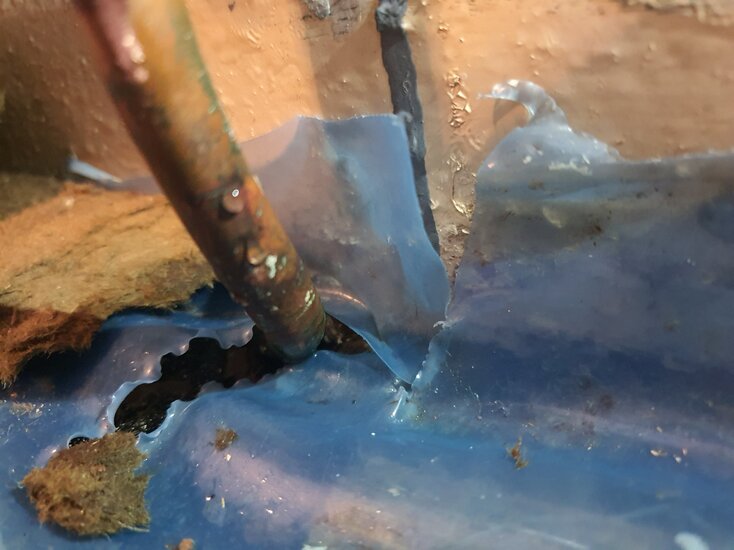
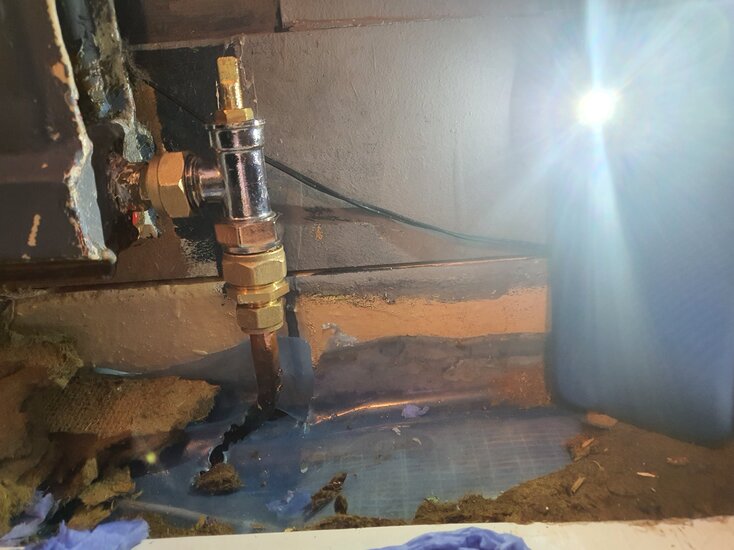
Hi - totally new here and really need some advice. I have a pin hole in a 10mm copper wall pipe that supplies a nearby radiator. The hole is about 4cm from the bottom of coving. I have looked at the repair patches but these are for 15mm pipe as are the other fixes available - cannot find it in 10mm. The leak is a dribble with everything on so not pouring out but leaking. I have had 3 plumbers come and look at the leak and the advice has been different on each one and the prices seem too much.
One has said that he will have to access through upstairs floor (bedroom with laminate flooring) cost approx 650-700.
Another has said that he will drain the pipe and solder cost approx 380.
Final one said he can take more wall out either side and replace bit of piping cost approx 420.
None of them can give me an idea of how long it will take so it's difficult to work out the pricing structure.
Should also mention that there is no give in the pipe at all and no gap between wall and pipe so it's difficult to see if the hole has gone all the way through.
Please advise - pictures can be posted.
Thanks Connie